7 Easy Steps to Create an SRT File in 2026
January 2026
·
2 min read


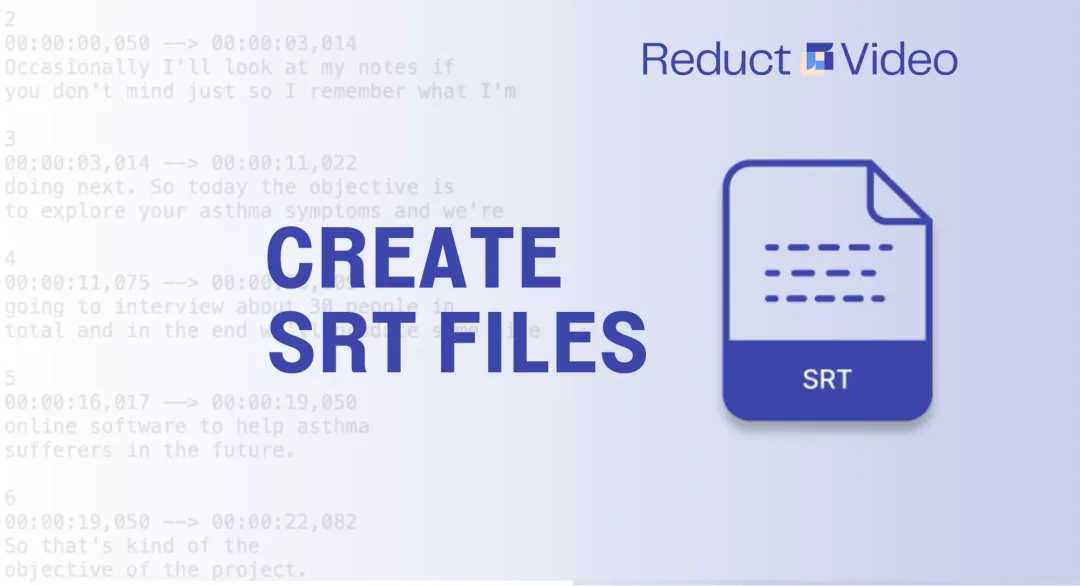
An SRT file, or SubRip Subtitle file, is a text file that contains subtitles for your video. With just a few simple steps, you can have professional-looking subtitles on your videos in no time.
In this article, we will discuss 7 easy steps to create an accurate SRT file for your video.
1. Choose a Text Editor:
The first step in creating an SRT file is to choose a text editing platform. A text editor is a type of software that allows you to create and edit plain text files.
They are free and are already installed on your computer.
Options include:
- Notepad (for Windows) 🗒️
- TextEdit (for macOS) 🗒️
- Notepad++ 🗒️
2. Review the video file:
It is always a good idea to review the video before you start creating your subtitles. This helps you get a sense of content and identify any potential issues that you need to address.
3. Create the beginning timestamp:
Open the text editor of your choice and type number one. It's important to sequence all subtitle lines in your SRT file to ensure they appear in the correct order.
To create the beginning timestamp, play the video and pause it at the point where you want the first subtitle to appear.
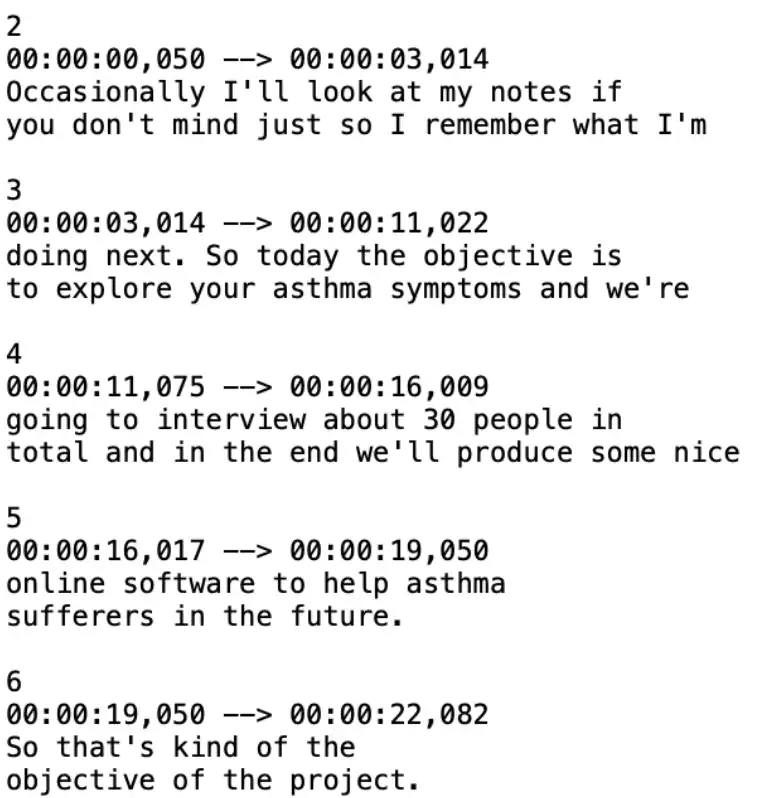
Then, you can note the timecode (in hours, minutes, seconds, and milliseconds) and use it as the beginning timestamp for your first subtitle. Your timestamp should look like this:
1
00:00:00, 050 - - > 00:00:03, 014
These times indicate when the subtitle appears on the screen. Make them as accurate as possible so your subtitles match the content correctly.
4. Add Subtitle Contents:
Now type the contents of the subtitle. This is the text that shows on the screen and is of one or two sentences.
This text should be the accurate transcript of the dialogues that are spoken in the video and should be written in a clear and concise manner. For example:
5. Repeat for all subtitles:
Once you have created the timestamps for your first subtitle, repeat this process for all of the other subtitles in your video.
For each subtitle, you need to create a beginning timestamp, an ending timestamp, and the actual text of the subtitle itself.
6. Review your subtitles:
After you complete writing all your subtitles, review them to make sure they are accurate and match the content in the video.
At this stage, you can edit and review timestamps, grammatical errors, and spellings to ensure the accuracy of your subtitles.
7. Save and upload your SRT file:
Once you are satisfied with your subtitles, you can save them in the SRT (SubRip Subtitle) file format. A format that is widely supported and used with most video players and platforms.
Then upload the SRT file along with your video file to the platform or website of your choice.
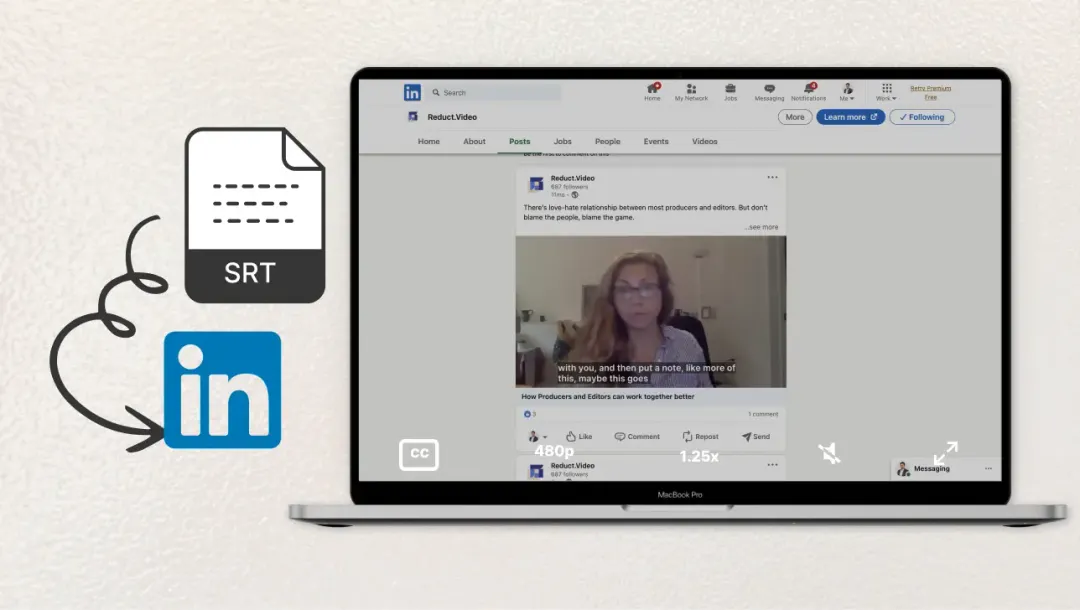
Automate the SRT creation process with Reduct
SRT files can be time-consuming to create, especially for longer videos, but they are the most straightforward format for creating closed captions on your own.
You can create an SRT file using an editor tool such as Reduct.Video where you don't have to manually write down the text yourself. You can simply add your video to Reduct and get your SRT file within 5 minutes.