How to Blur Faces in YouTube Videos? 3 Easy Steps
December 2025
·
2 min read

I recently stumbled upon a YouTube video with a blurred figure in its thumbnail. After reading the title, I discovered it was a criminal case investigation documentary with some explicit content.
This video featured interviews with child victims, witnesses, and even suspects of a heinous crime.
But why did the creator choose to blur their faces?
The answer is simple– for privacy protection of both victims AND criminals.
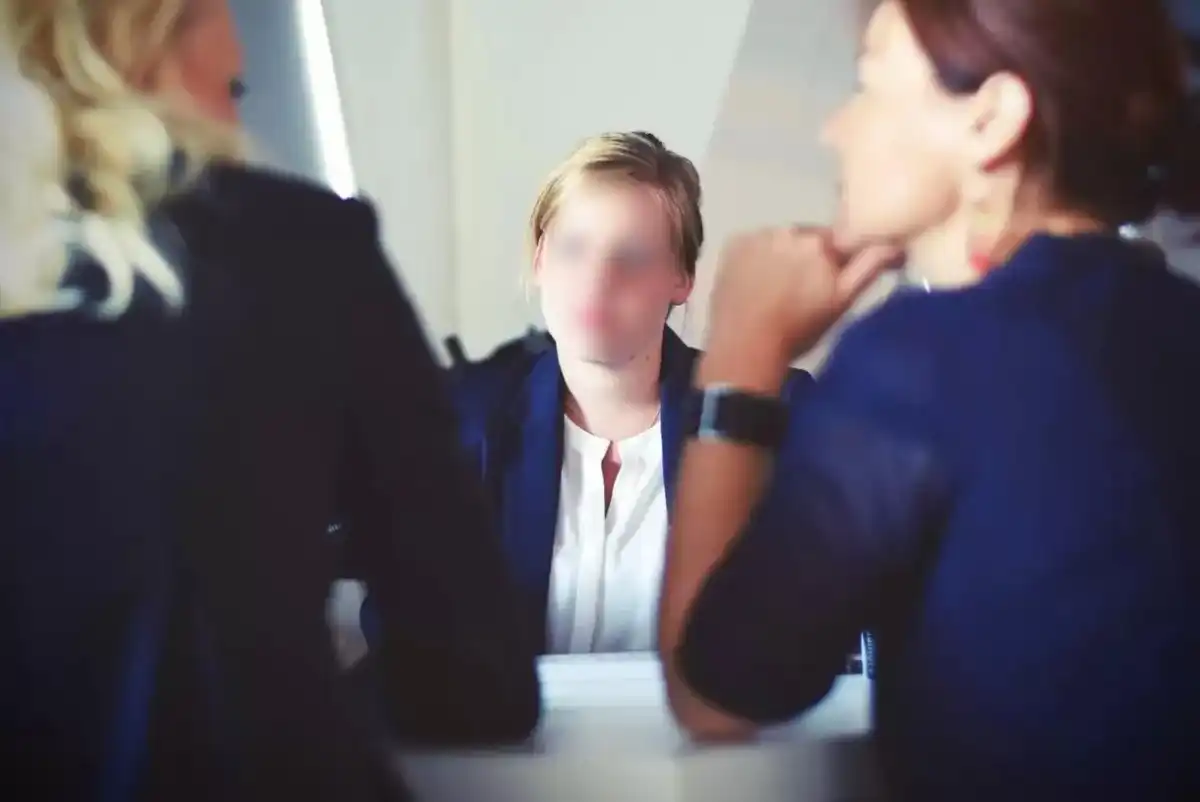
Creators also use this anonymizing feature to abide by YouTube’s community guidelines and policies. Blurring faces adds an extra layer of anonymity and can deter malicious activities like harassment and doxing.
So when should you blur YouTube videos?
- Always blur the faces of minors, as YouTube has strict policies regarding content featuring minors.
- Blur faces when the video contains confidential information.
- Blur faces if they did not consent to being in the video.
- Comply with local laws and regulations which may require blurring faces in specific content, like courtroom footage.
- Blur faces in videos that may involve harassment, bullying, or privacy infringement to comply with YouTube's community guidelines.
How to blur faces before uploading to YouTube using Reduct
Blurring faces with Reduct is as easy as 1, 2, 3.
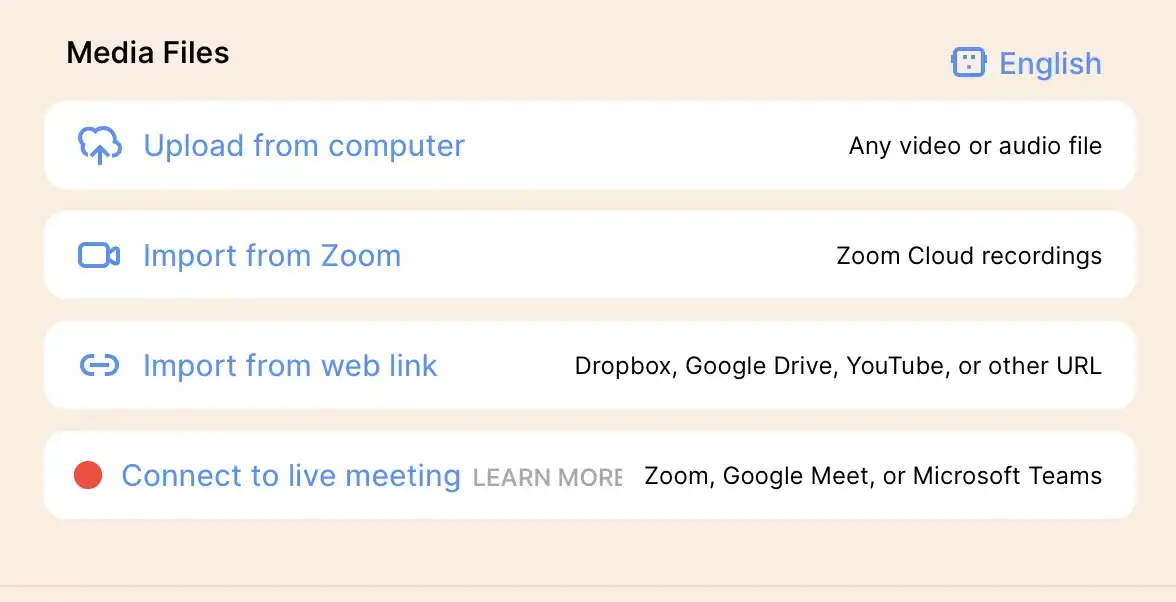
Step 1: Upload your video to Reduct
Say one of your YouTube videos got flagged because it didn’t comply with YouTube’s community guidelines, and you want to re-upload it to your channel with proper anonymization.
Upload any video from your computer.
Step 2: Select and highlight the transcripts that need face-blurring
As the video gets uploaded, Reduct’s AI transcription engine automatically transcribes your YouTube video. In the transcript that rolls out, select the sections that need face-blurring.
Or simply identify the people that you want to anonymize in the video, and highlight their dialogues in the transcript.
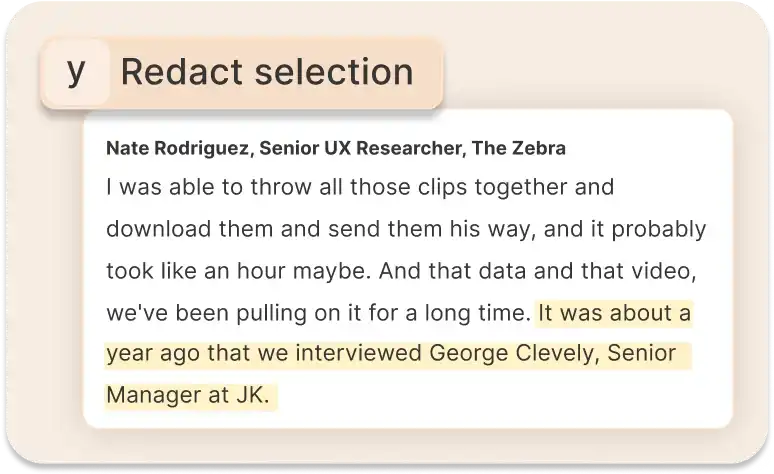
By selecting specific sections or dialogues in the transcript for redaction, you can easily navigate to the exact moments in the video for blurring.
Step 3: Apply the blur effect where necessary
After selecting the section you want to blur, you can then click on the redact option at the top of your transcription.

Then adjust the blur effect to fully cover the faces that need to be anonymized.
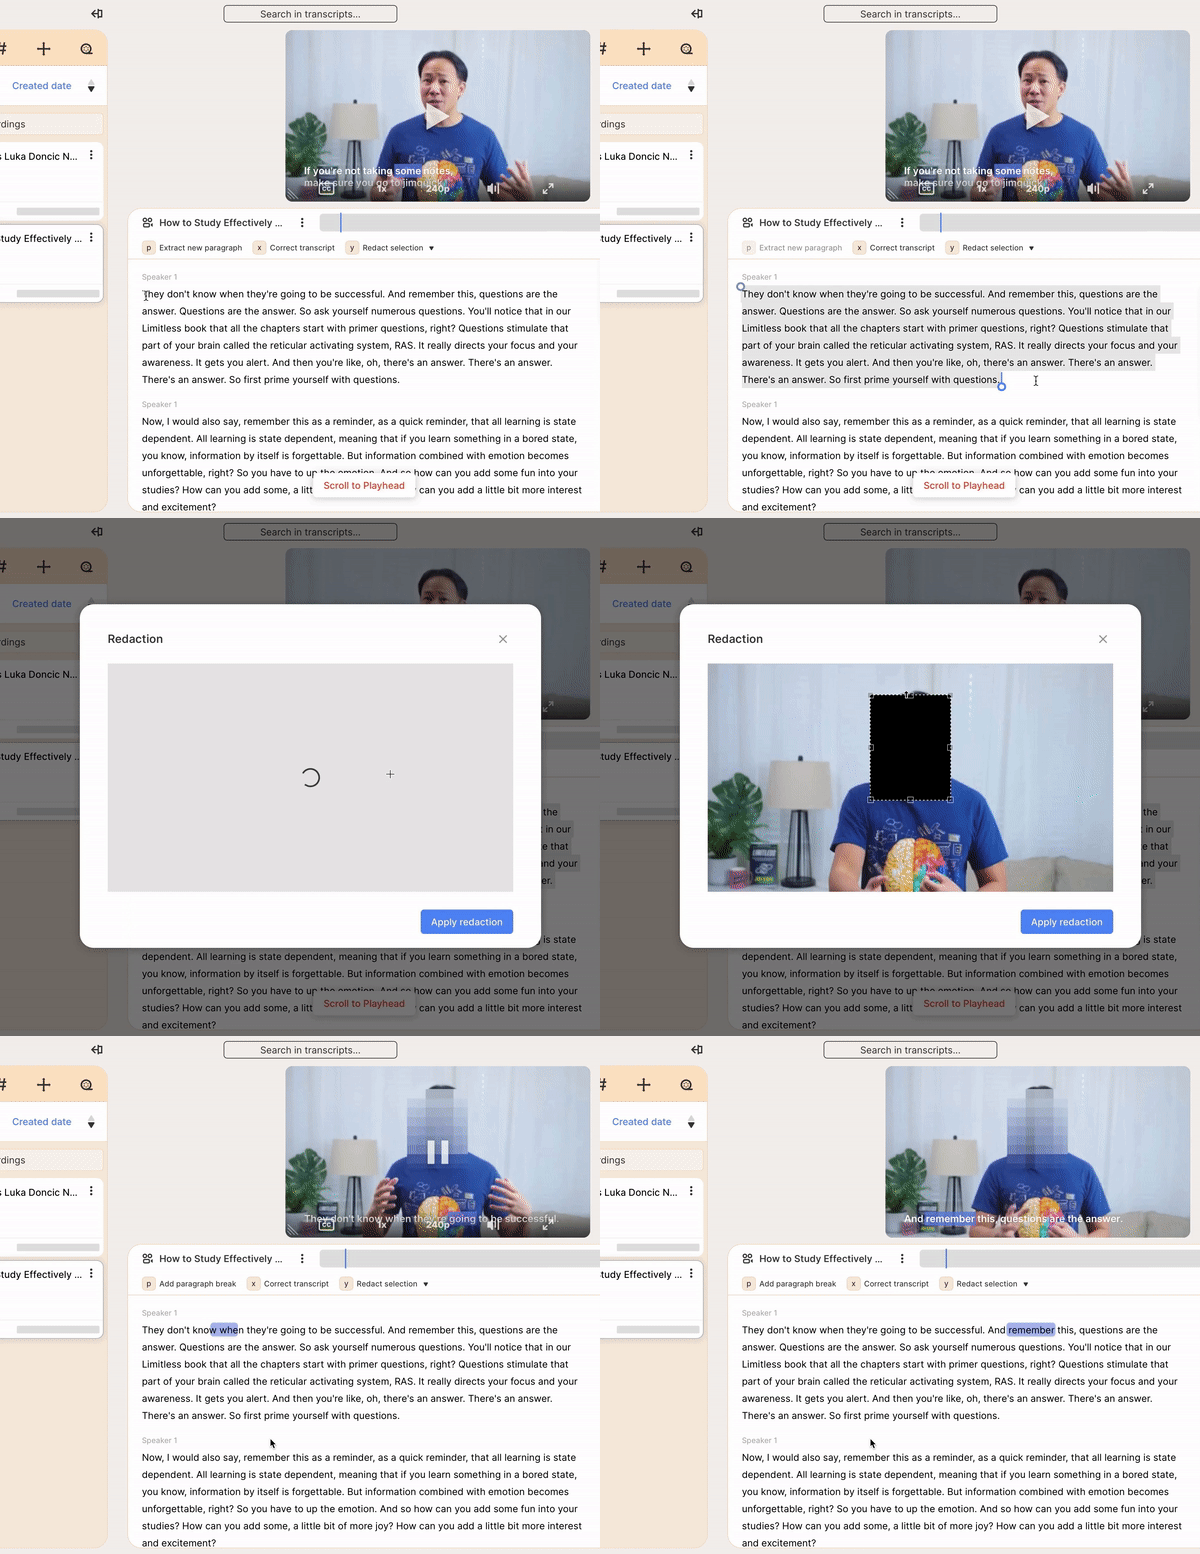
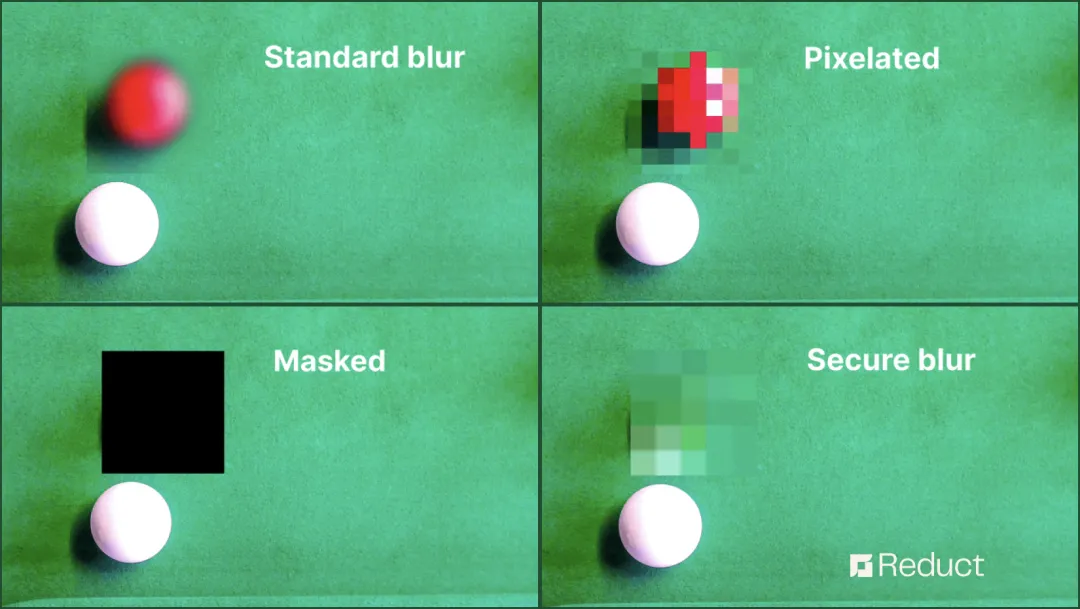
With Reduct, you have the flexibility to either fully conceal the designated area or selectively blur the face of your participants.
Easily blur YouTube videos with Reduct
Reducing the risk of privacy breaches not only promotes ethical content creation but also fosters a safer and more responsible online environment for everyone involved.
Utilizing Reduct to blur YouTube videos is a simple yet effective process to help you protect the privacy of participants in your videos.
With Reduct, you can be ensured that sensitive information about your participants is concealed and their identities are safeguarded.
Read more about redaction with Reduct:
- How to cover faces in videos
- How to redact sensitive information from audio
-
How to Redact Zoom Recordings
Reduct removes the pain of working with video.

