How to Blur PII in Google Meet Recordings? 3 Easy Steps
September 2023
·
2 min read


During one of my first Google Meet lectures, I couldn’t help but notice multiple open tabs on the lecturer’s browser window as she shared her screen.
She kept switching between various educational tools like Kahoot!, Google Slides, and Blackboard. In the process, she accidentally clicked on her Facebook tab, displaying vacation pics with her spouse to all her students.
EVERYONE saw– guilty as charged!
While you may have to rely on the prevention-is-better-than-cure mantra for real-time screen-sharing, you can always take proactive measures to protect PII, or personally identifiable information, in your final Google Meet recordings using Reduct.
How to Blur PII in Google Meet Recordings? 3 Easy Steps
PII encompasses sensitive data that can be used to identify an individual such as full names, Social Security numbers, and addresses.
You can use Reduct’s easy 3-step process to blur these data in your Google Meet recordings.
Step 1: Upload your Google Meet recording to Reduct
Directly upload a Google Meet recording from your computer.
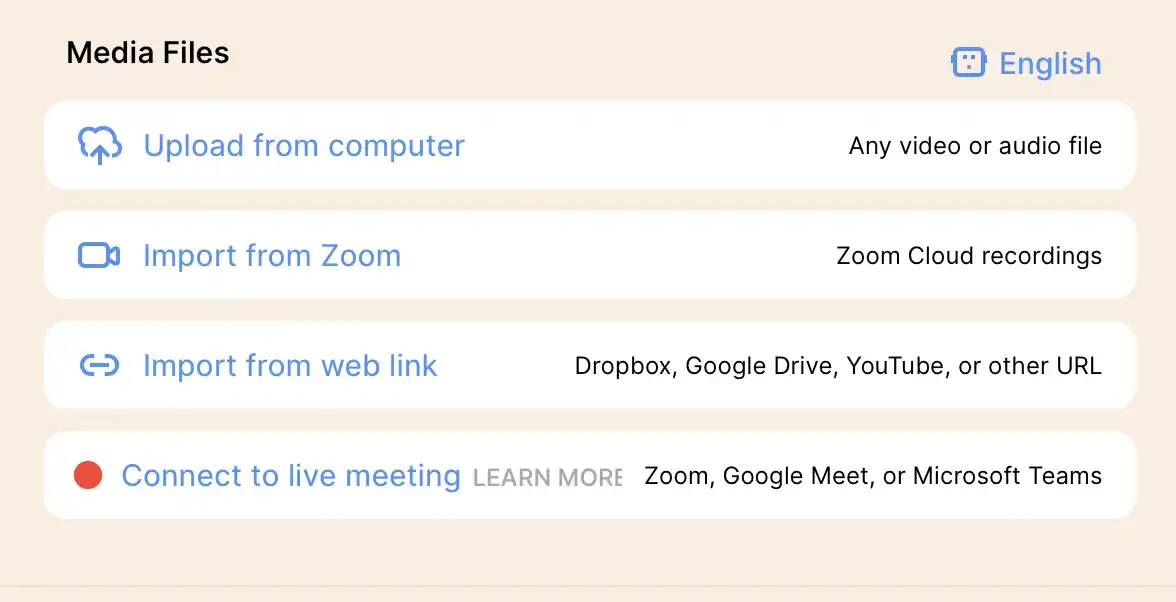
Or use Reduct’s Live Capture to send Reduct’s transcription bot to your live Google Meet call.
Note: The bot automatically transcribes your live audio and uploads the whole recording to Reduct after you end the meeting.
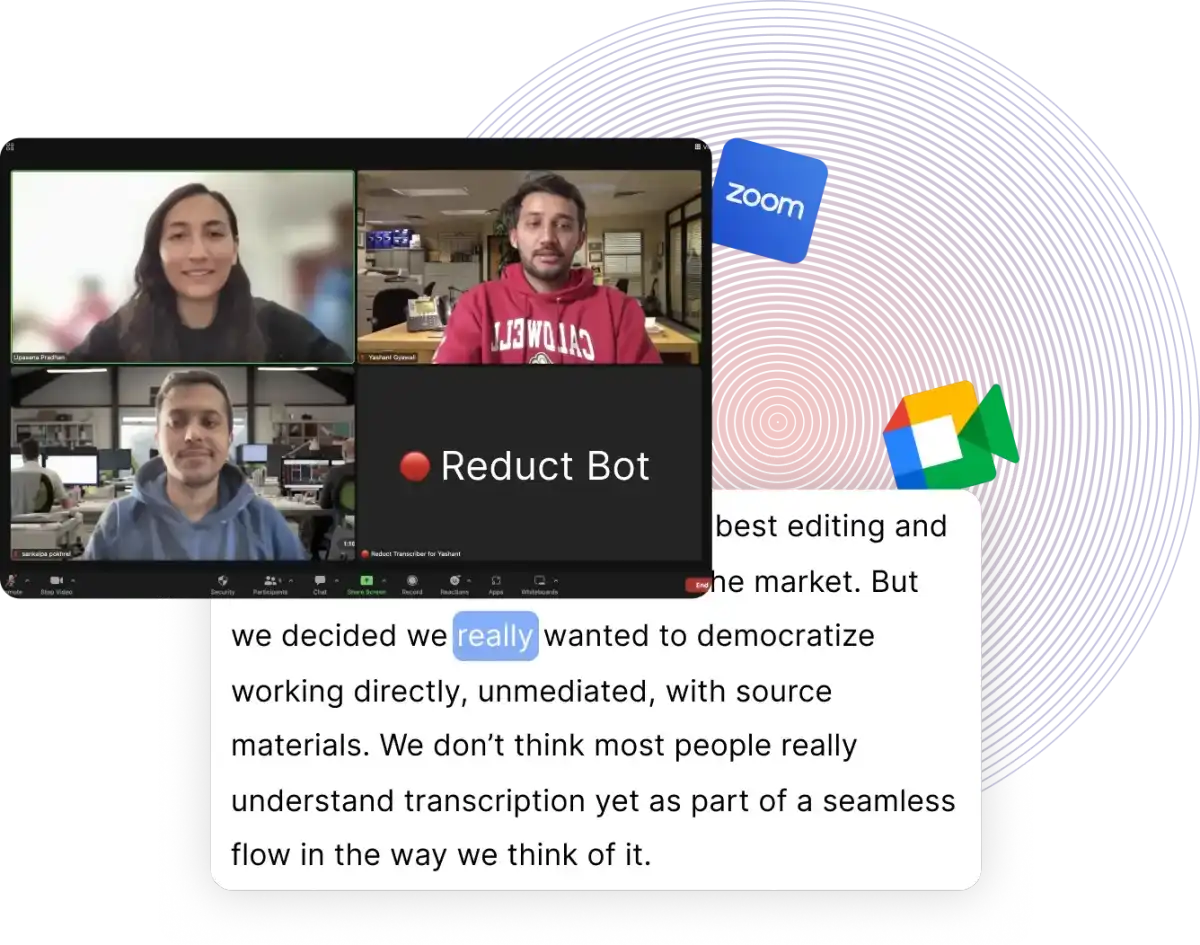
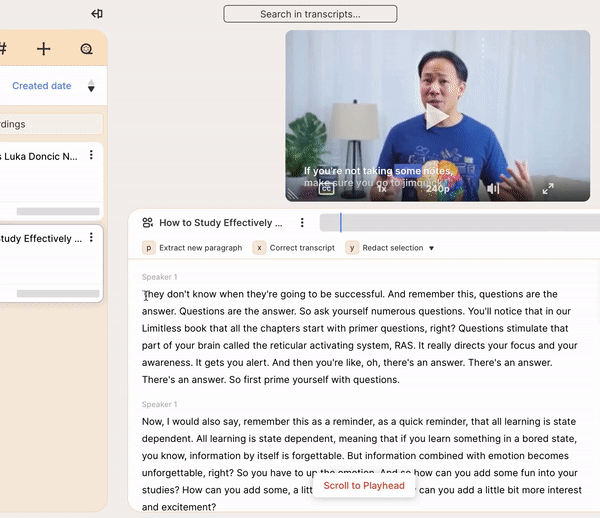
Step 2: Select the sections that contain PII in the Google Meet recording
With Reduct’s text-based video editing, you can simply scan through the transcript to find any mentions of personally identifiable information in the Google Meet session you uploaded.
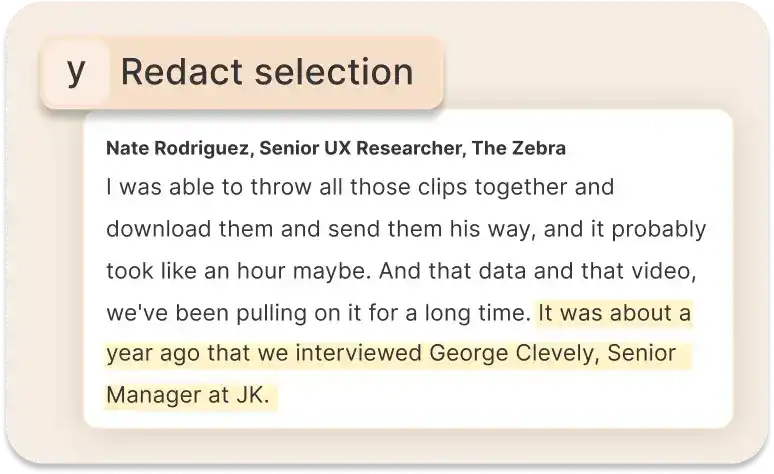
For instance, the following section contains George’s full name, his professional title as well the company he’s a part of. So you can just select and highlight this particular section containing his PII and proceed to the next step.
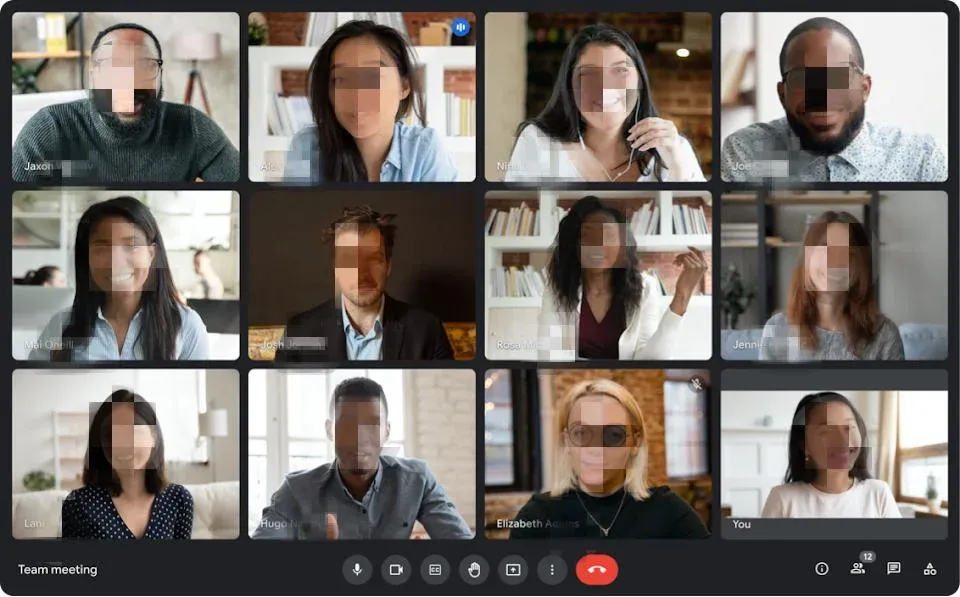
Step 3: Apply the blur effect to all PII in the Google Meet recording
This selection will serve as a reference point, allowing you to easily navigate the specific moments in the video that require blurring.
After you have identified the sections, dialogue, or parts of the recording that need blurring, click on the redact button on top of the transcript.
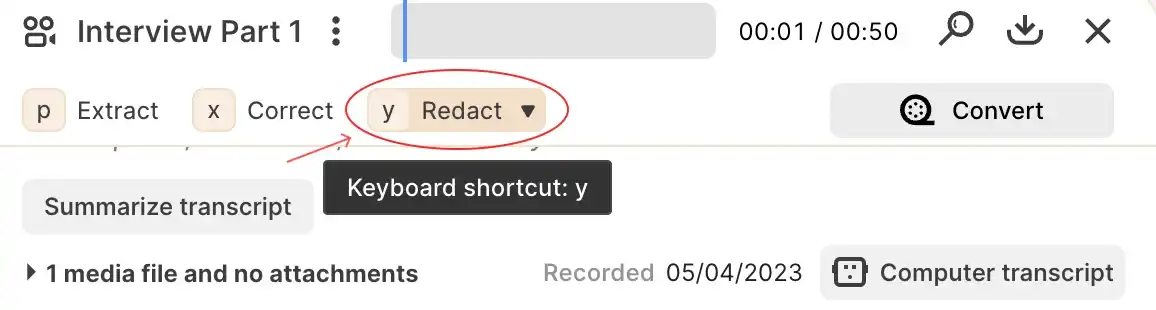
A blur effect will appear on the screen, you can then adjust the effect to fully cover the faces or any personally identifiable information that needs to be hidden.
 Learn everything you need to know about video redaction here.
And wait, there’s more..
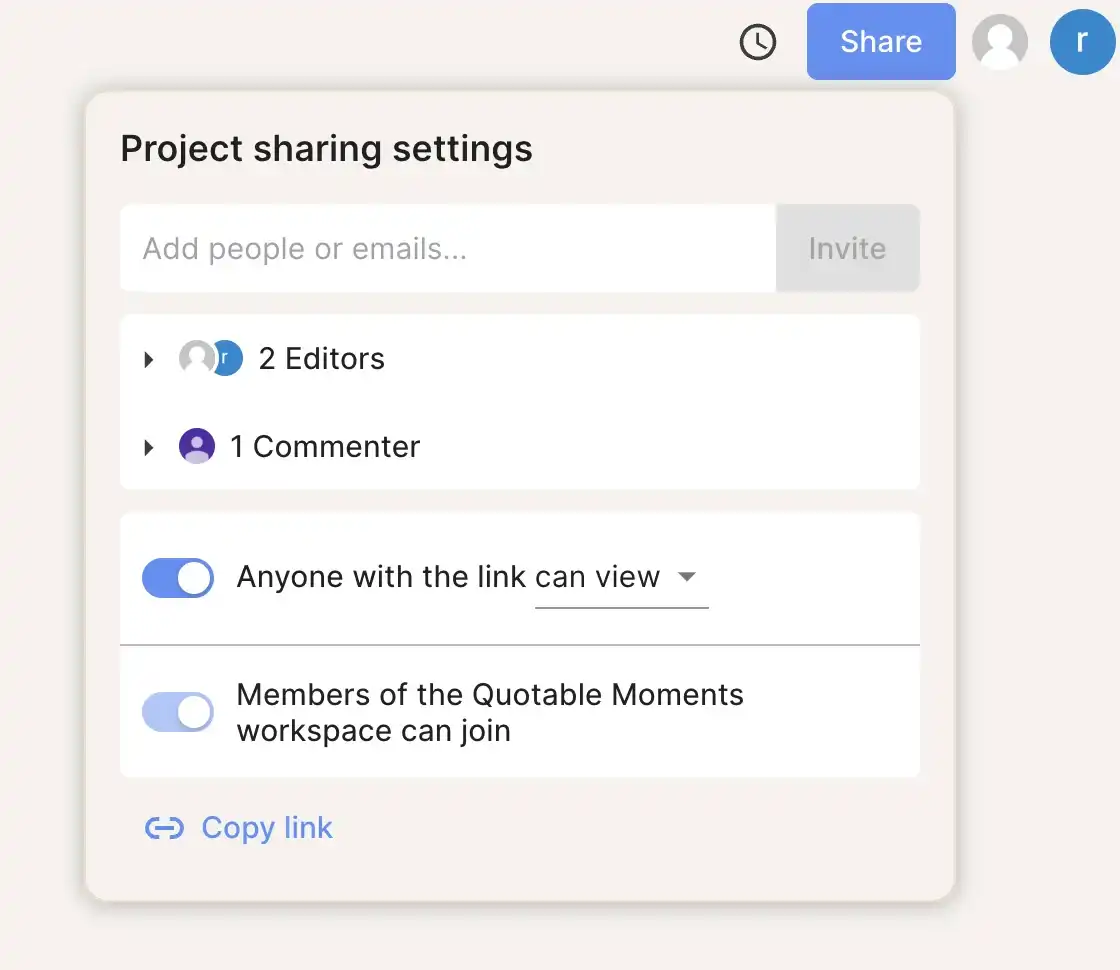
You can now freely share your anonymized Google Meet recordings with relevant stakeholders. Invite your colleagues to view, comment, or edit your recording internally.
Input their names or email IDs in the project-sharing feature and hit the ‘invite’ button.
Blurring PII from Google Meet sessions is a proactive step to ensure privacy, comply with regulations, prevent data breaches, and safeguard against identity theft.
By utilizing Reduct’s three easy steps to blur recordings, you can promote a secure and respectful record-sharing practice within your organization.
Try Reduct today to get started with blurring your PII in Google Meet recordings!