How to Review a Police Report in Reduct
July 2026
·
3 min read
Every police report reads like an absolute, undeniable truth. But underneath the sterile legalese is a document written for technical legal sufficiency rather than the messy reality a public defender actually needs to uncover.
Take a standard disorderly conduct arrest:
Officer [Name] writes that the subject 'became uncooperative' at 22:40, and that a struggle 'ensued' shortly after.
Both phrases sound factual, but they leave out the actual human story: who started it, what "uncooperative" looked like, and whether any of it matches what's on the bodycam.
To build an authentic defense theory, you have to close that narrative gap. And to close that narrative gap, you need to understand what actually happened.
Traditionally, defense teams spend hours bouncing between PDF viewers, scribbled handwritten notes, witness statements, and video files just to understand what happened. It's an exhausting, scattered workflow that drains energy away from your real mission: advocating for your client.
Here's how Reduct can help you build your case theory:
Summarize the report to get oriented
Before you can start questioning a police report, you need to understand its overall structure. Instead of immediately perusing cold pages of discovery, you need an upfront map that lets you know exactly where to slow down and scrutinize.
Reduct helps you get oriented by generating a clickable, timestamped summary of the report in seconds. Instead of scanning the pages cold, you can immediately see when the officer arrived, when the encounter ended, and when witness statements were taken.
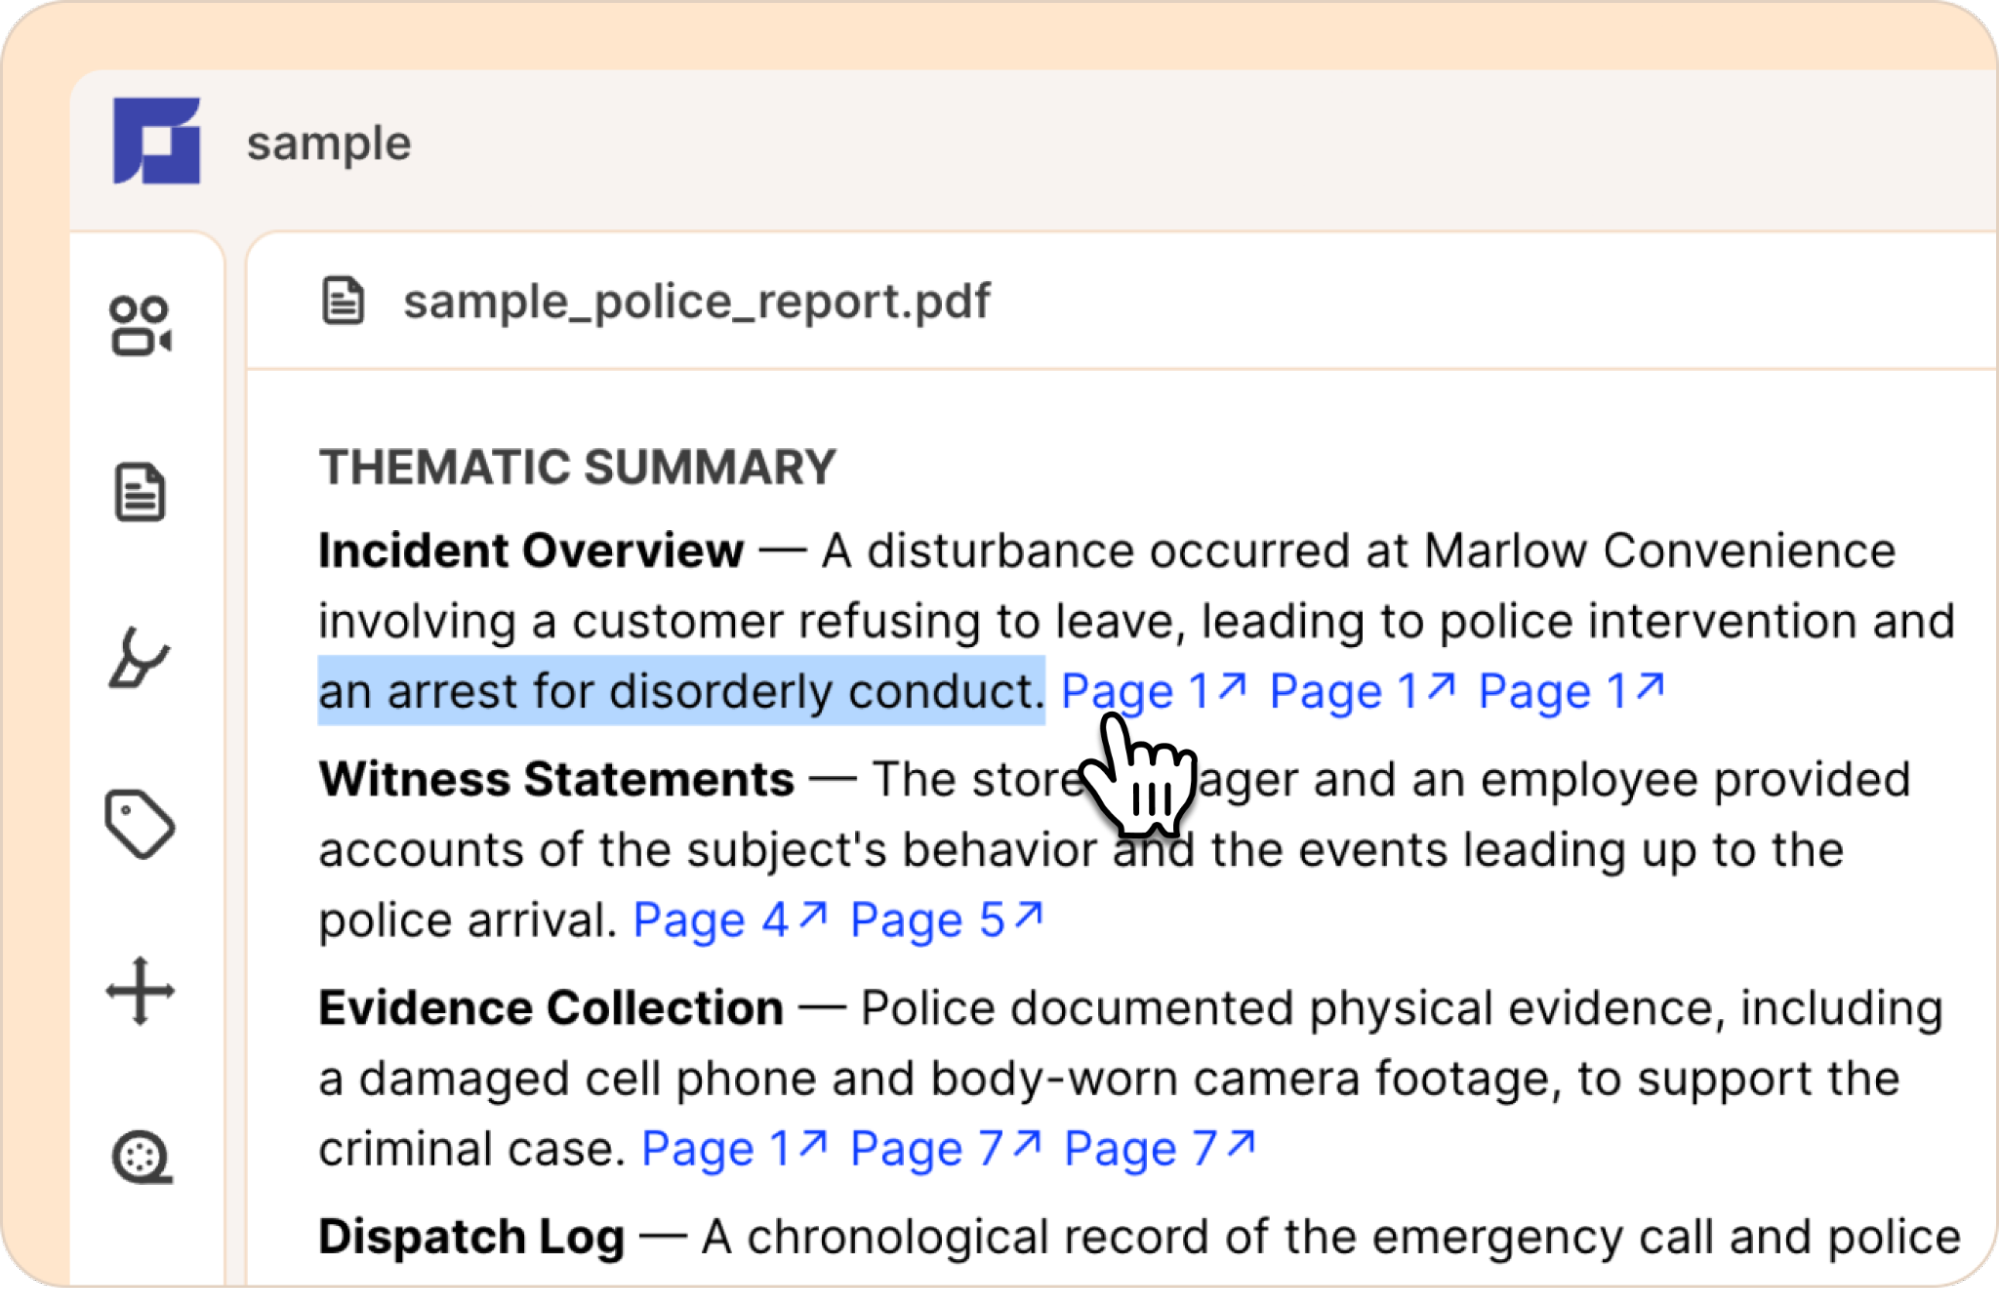
Once you know the sequence of events, it's much easier to decide what deserves closer scrutiny and what is mostly routine background.
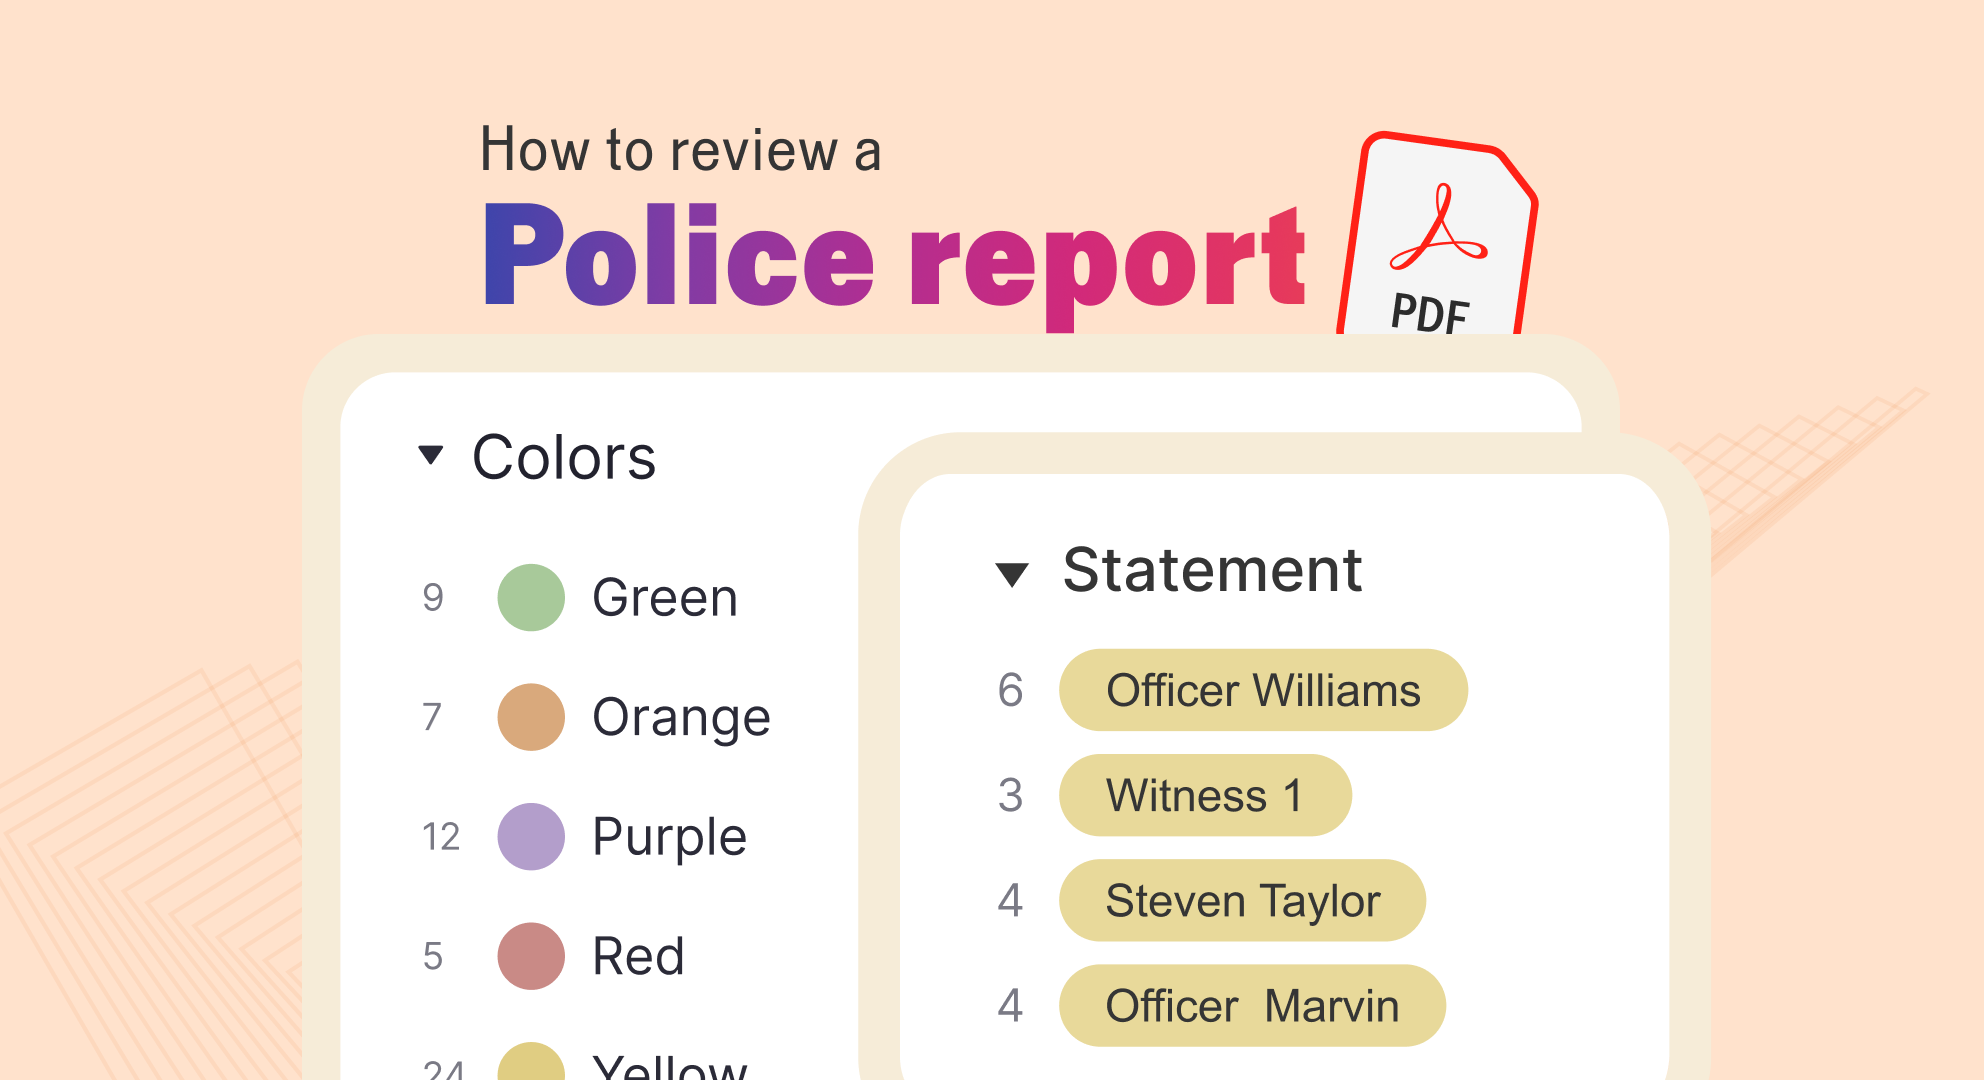
Highlight and label what needs a second look
Once you're oriented, you can start reading more closely. As you go, mark every place where the report asks you to accept a conclusion instead of showing the facts. Then label each one with what you'll need to verify later.
For example, you could use labels like "timeline gap" for an approximate time, "unclear subject" for a passive construction like "a struggle ensued," or "verify against recording" for a quoted statement that reads like clean police prose rather than something a witness actually said out loud.
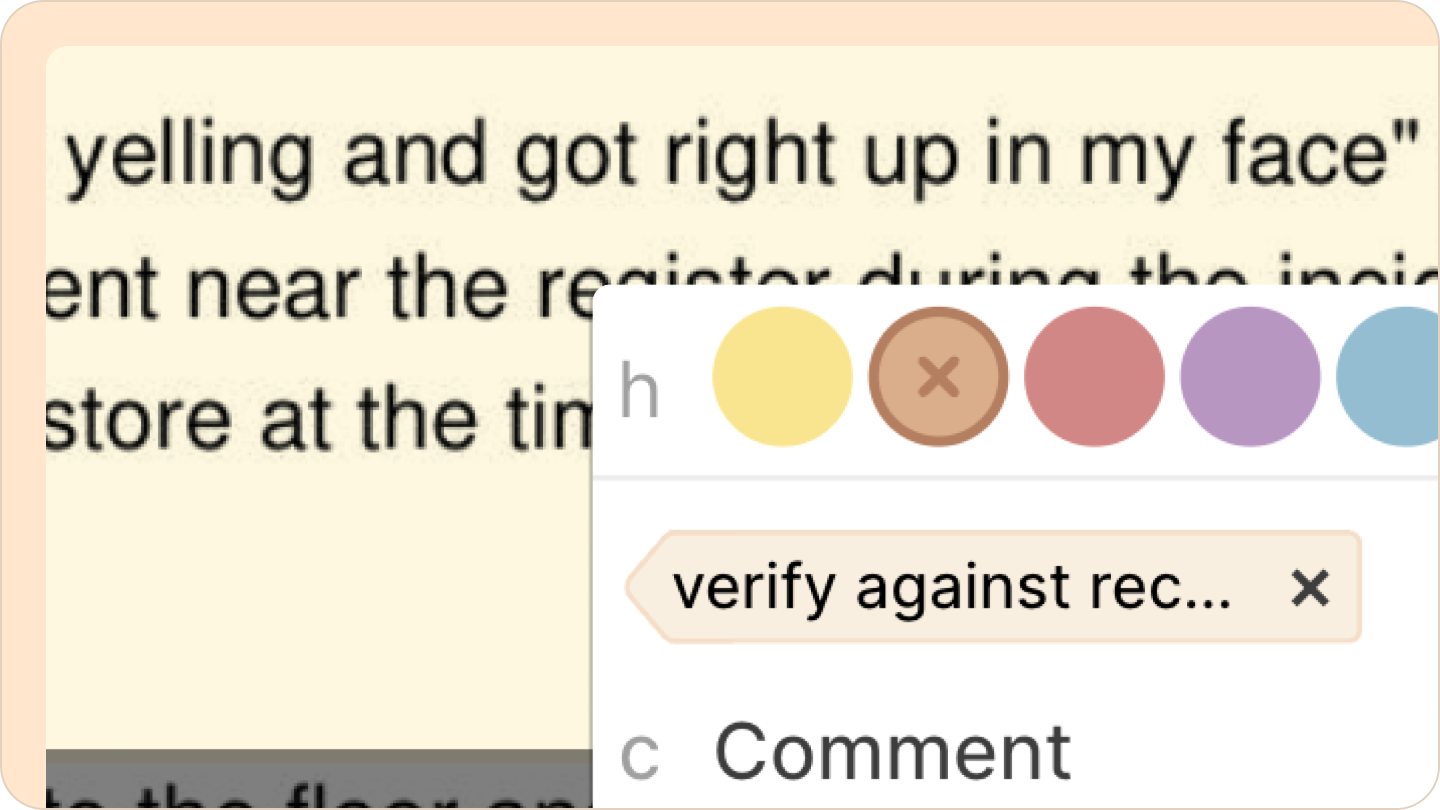
The same passage can carry more than one label. "Became uncooperative at 22:40" might get tagged "timeline gap" because the time is approximate, and "verify against recording" because the characterization needs to hold up against bodycam.
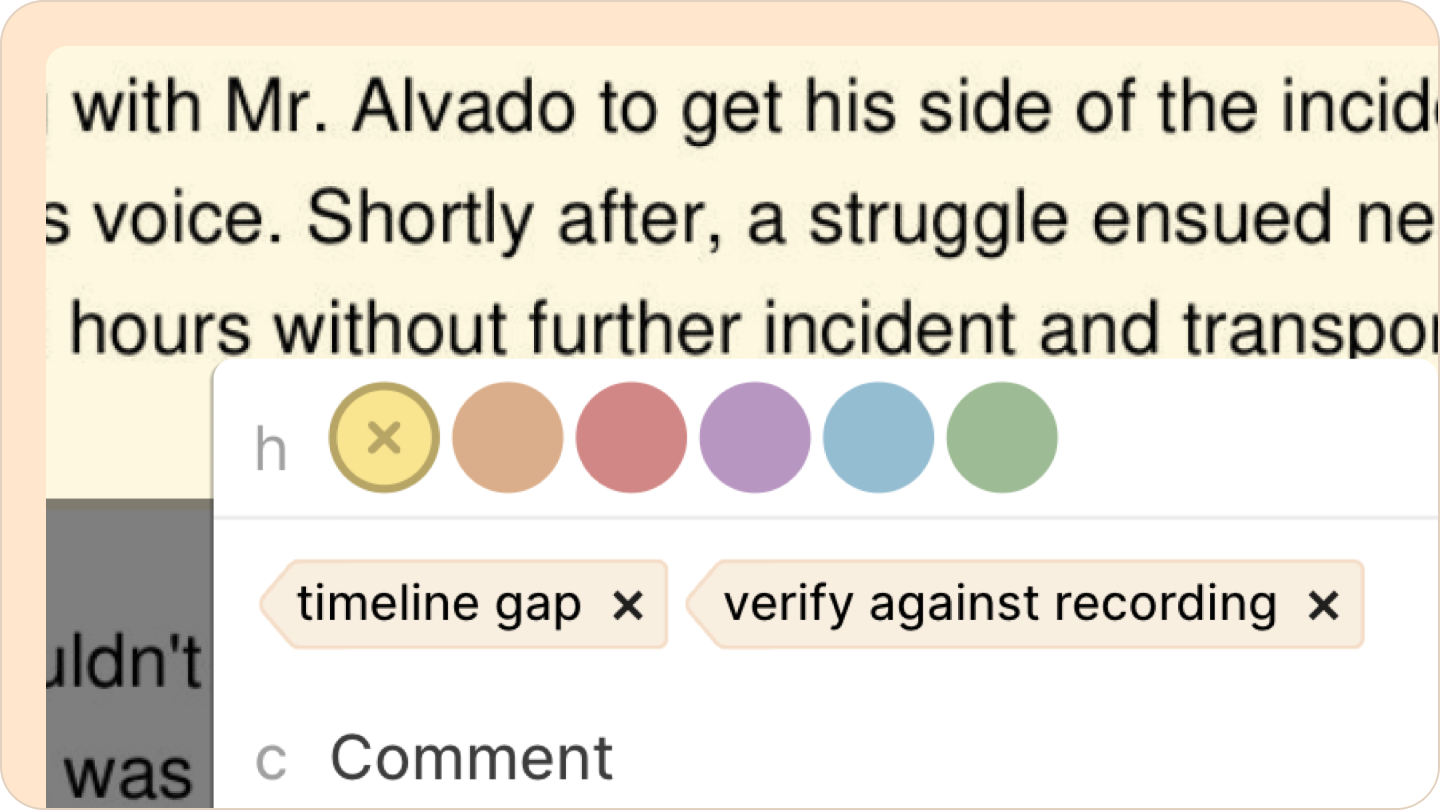
This way, you're building a layered set of flags that reflect the different things you'll need to check. That layering matters most once you start filtering.
If you're building your timeline, you can filter down to just the "timeline gap" labels and ignore everything else for the moment. If you're prepping for cross, you can pull up every "verify against recording" tag across the report without re-reading pages you've already worked through.
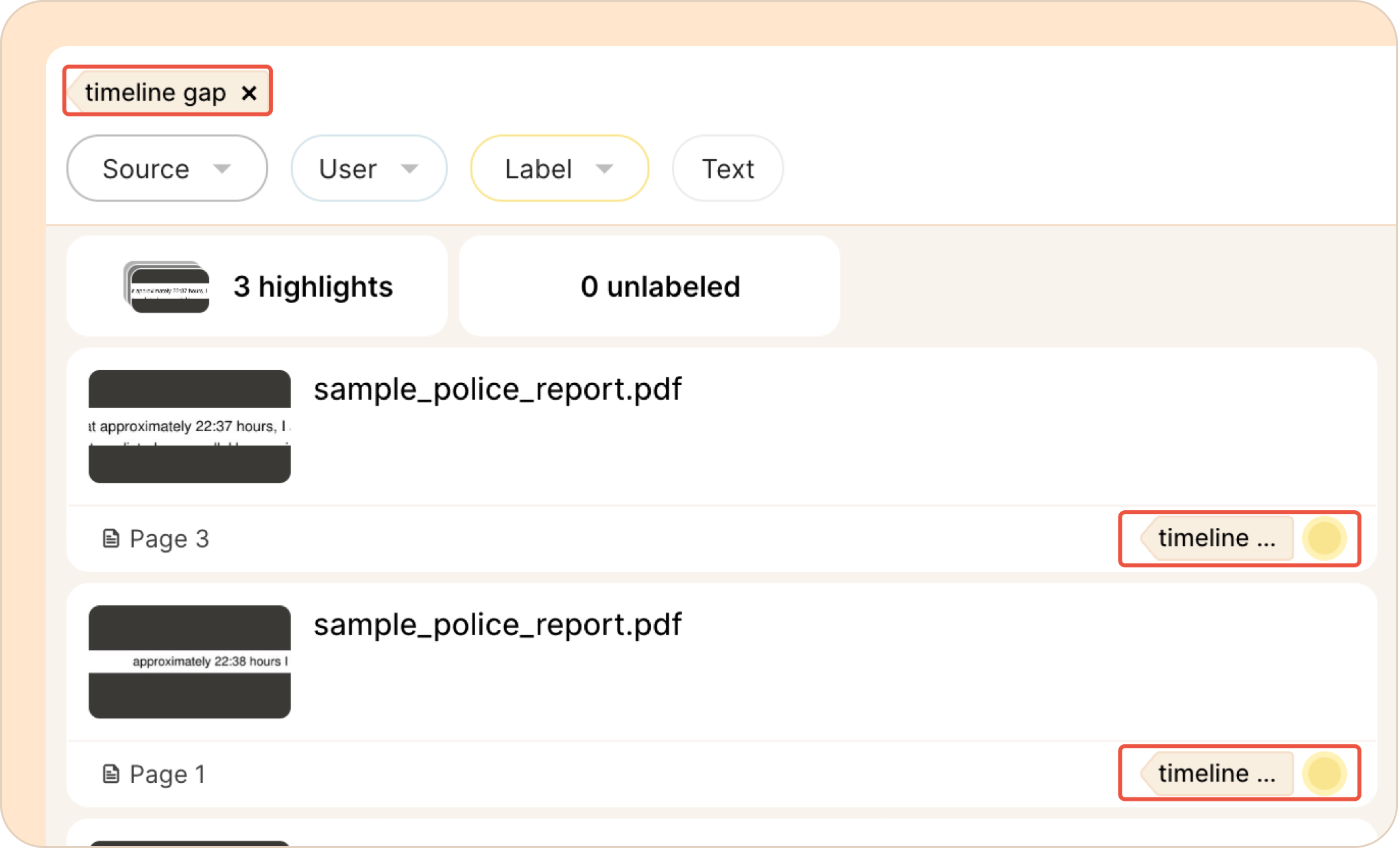
The labels stay attached to the text, so you can move between tasks without losing track of what you flagged and why.
Those labels become your roadmap when you review bodycam footage, witness statements, and other evidence, making it easier to test whether the report's narrative actually holds up.
Ask the report direct questions
By this point, you've already identified what's unclear. The next step is answering those questions without repeatedly rereading the report or hunting for the same paragraph over and over.
You can ask Reduct questions in plain language and get answers pulled directly from the report.
- What time does the report say the officer arrived, and what time did the encounter end?
- How many witnesses are mentioned in this report, and what does each one say?
- What exact words does the report attribute to the complainant?
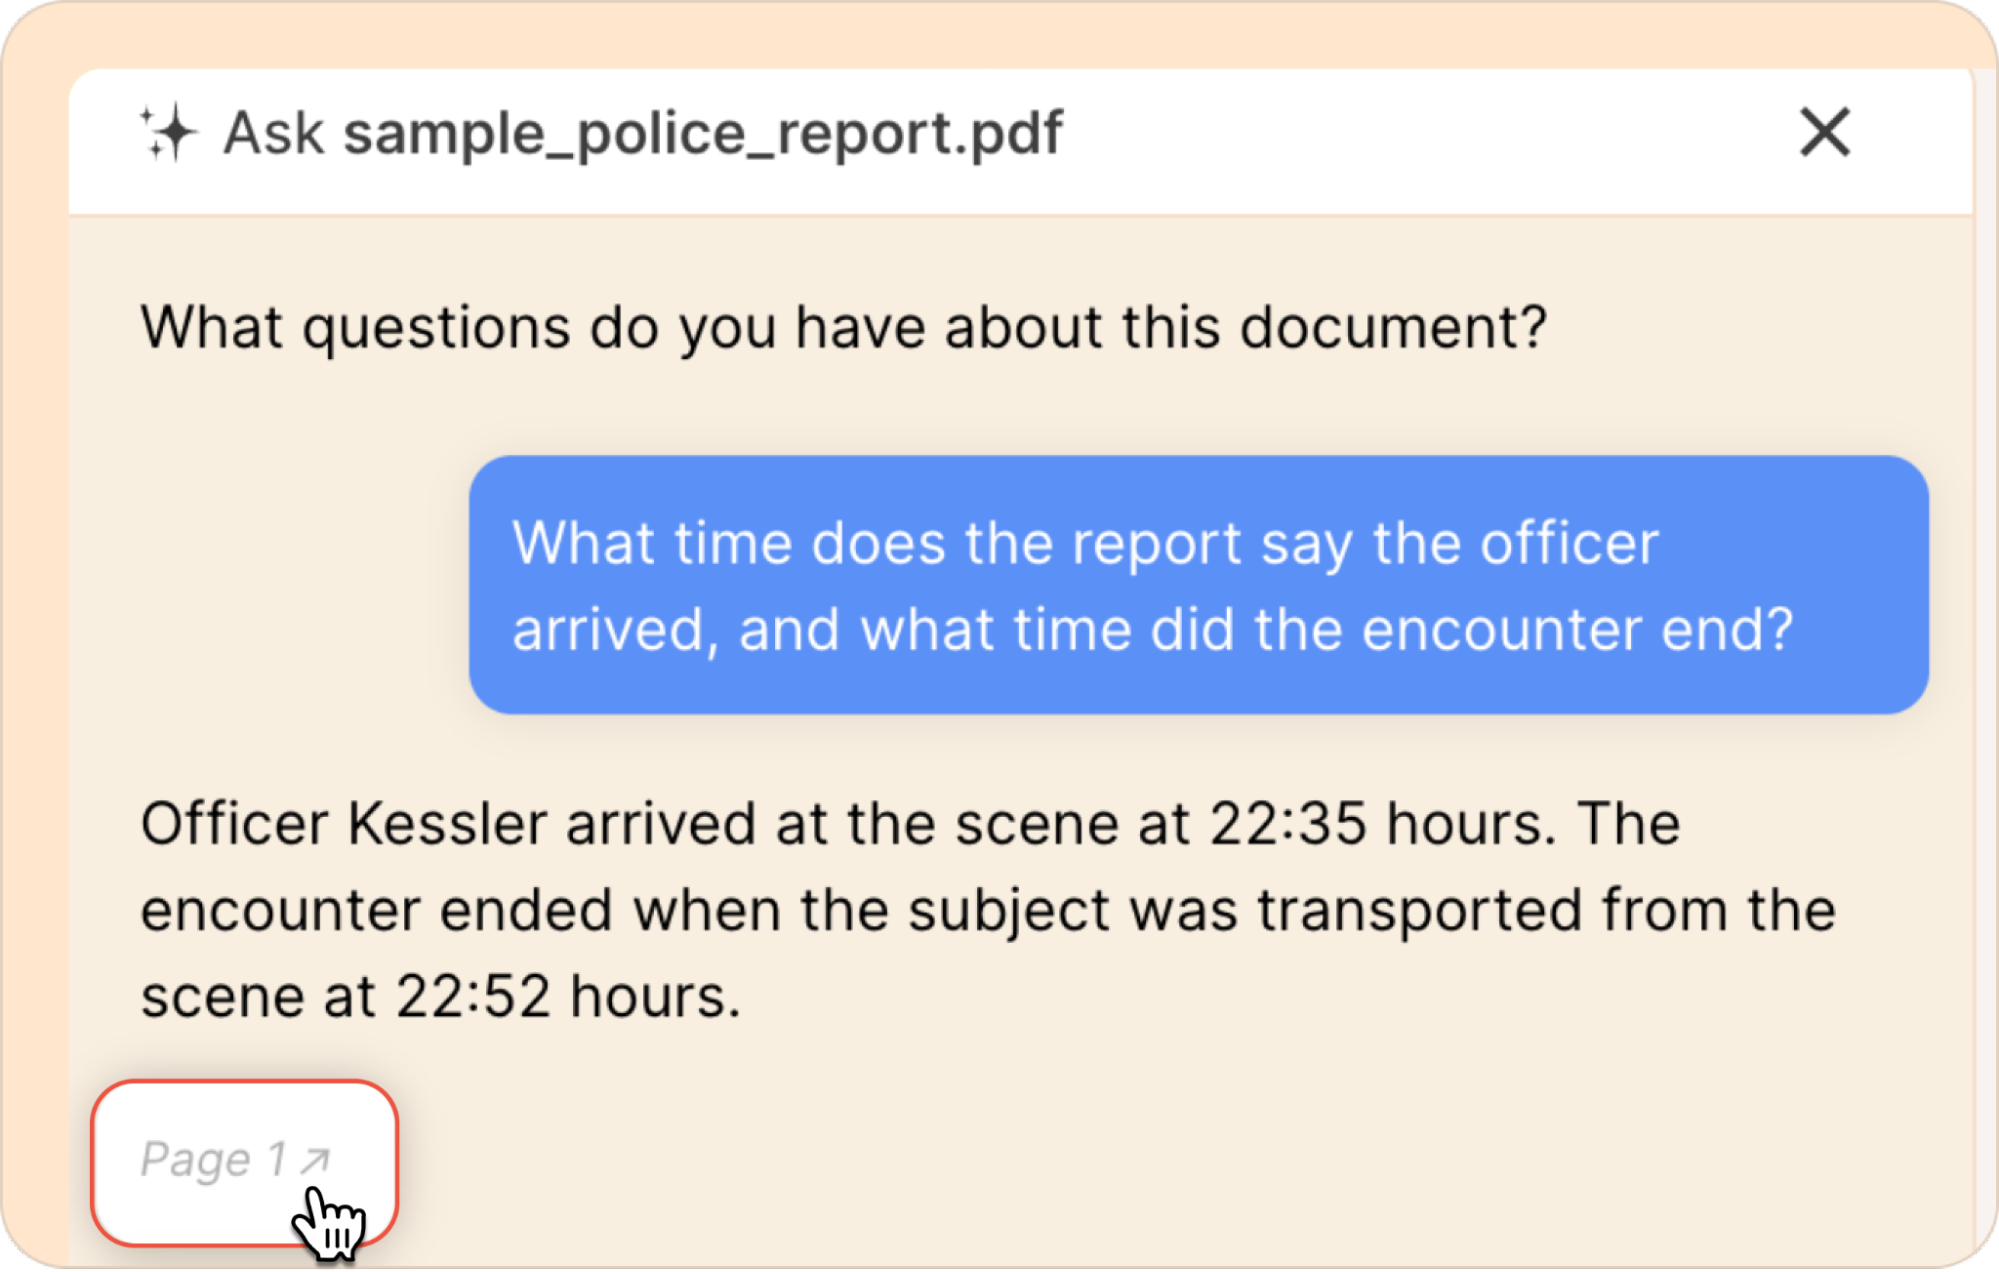
The answers you get back will point you toward timeline inconsistencies, statements worth comparing against bodycam footage, or testimony you'll want to challenge during cross-examination.
Reduct also lets you generate a custom summary from a set of questions you write upfront. If you already know exactly what you're checking for, you can start with that, though the Ask feature covers this same "answers pulled from the report" job on demand.
Verify against the recording
The next step is usually pulling up the bodycam footage or witness statements that can confirm or contradict your findings. Since your highlights, labels, and Q&A are already attached to the report inside Reduct, you can jump straight from a flagged label to the recording itself, without losing the trail of why you flagged it.
From there, a few things tend to come up fast:
- Cross-referencing the report against bodycam timestamps to check whether "became uncooperative at 22:40" lines up with what's actually on video
- Pulling the same questions you asked the report (arrival time, witness count, exact quotes) against the footage to see where they match or diverge
- Sharing labeled sections with co-counsel or your investigator so they're not starting from a blank read of the report

A police report is a starting point to build your theory of the case. The work of a defense team is figuring out where its summary holds up and where it doesn't, and that work goes faster when the report, your notes, and the rest of the evidence aren't scattered across different tools.
TALK TO A PUBLIC DEFENDER
We're on your team
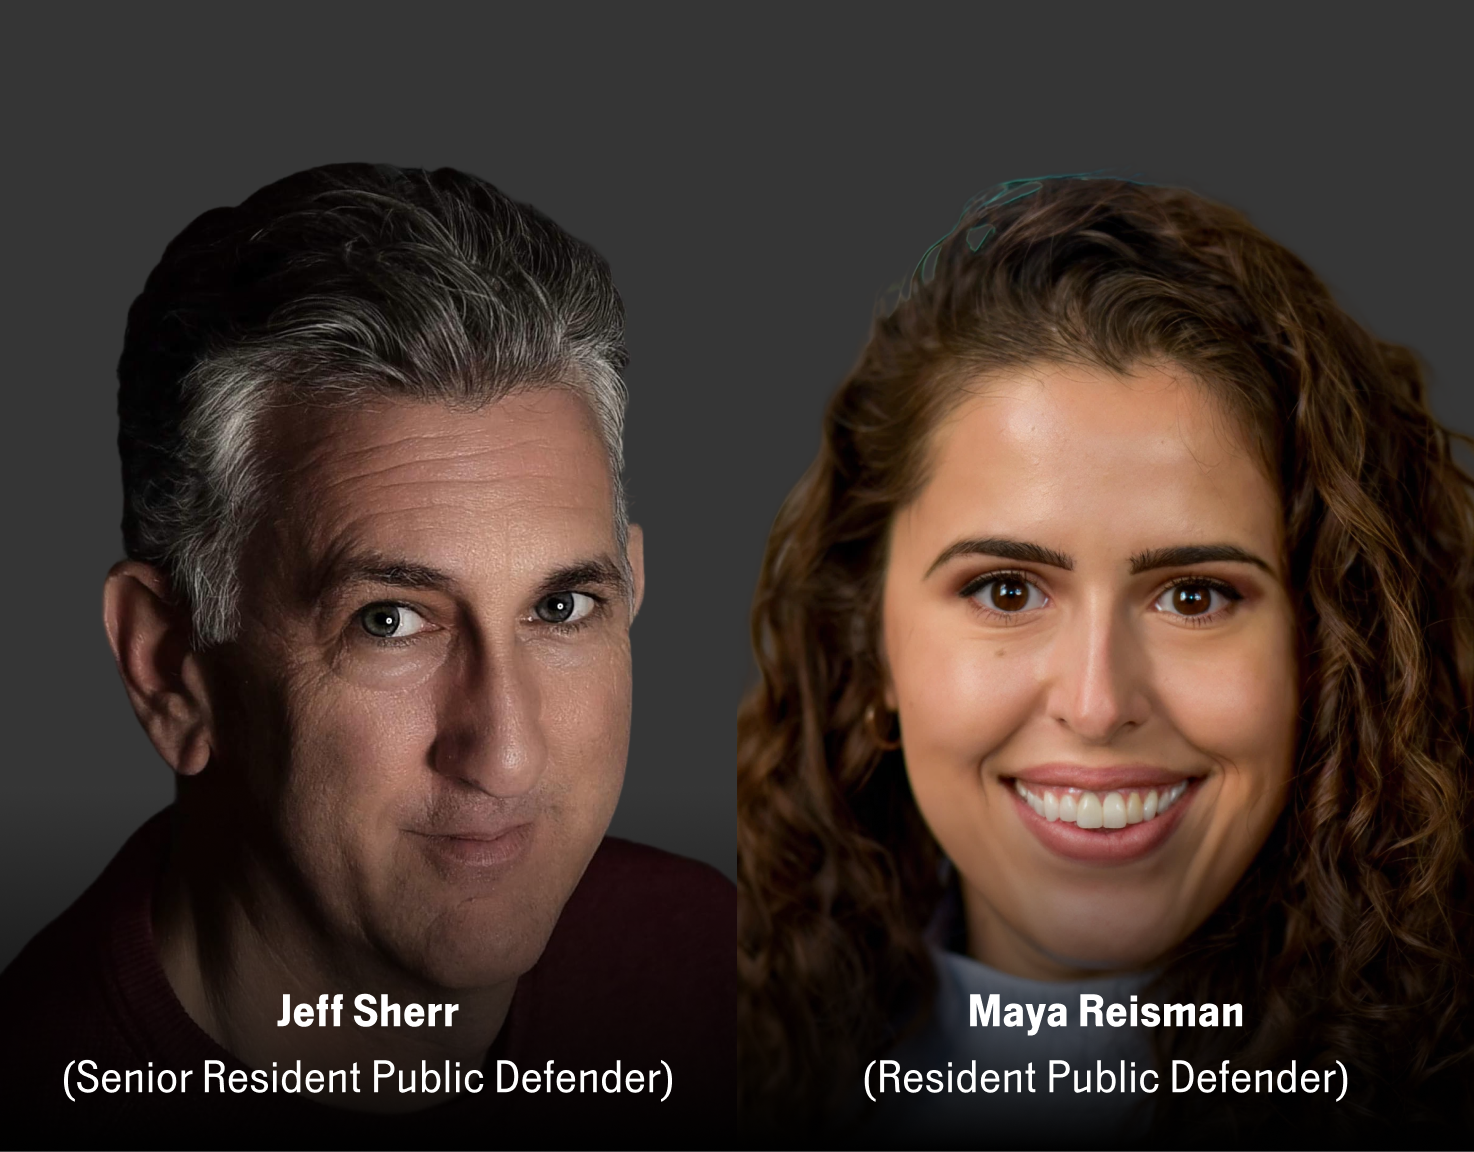
We believe the people building tools for defenders should understand what it actually takes to be one. So we have former public defenders helping us build the product. Have a question about whether Reduct fits your office? We’d love to talk to you.